
Picture this: you’ve just installed a brand‑new shower liner, the water’s running, and a few minutes later you spot a slow drip seeping into the drywall. That tiny mistake can turn a fresh remodel into a nightmare, and it’s cheaper to avoid than to fix.
Most homeowners think a liner is a “set it and forget it” job, but the truth is the wrong thickness, a misaligned seam, or a cheap adhesive can let water slip right through. In Buckeye’s desert heat, those leaks don’t just ruin tile—they can warp wood, foster mold, and drive up your utility bills.
Local contractors know the terrain, the water pressure quirks, and the building codes that keep a bathroom safe for years. Ignoring those details is like building a sandcastle on a windy day—pretty at first, but it won’t last.
Ready to learn the exact steps that keep your liner watertight and your wallet intact? Keep reading, and we’ll walk you through the pitfalls you can dodge before the first tile goes down.

Choosing the Right Shower Liner Thickness and Material for Buckeye’s Climate
Buckeye’s desert heat swings from scorching days to chilly nights, and that temperature swing makes a thin liner a ticking time bomb. A 0.5 mm liner will expand, contract, and eventually split at the seams, letting water sneak behind the tile. Most pros in the area recommend stepping up to a 1.0 mm or 1.5 mm membrane when you’re dealing with high‑temperature fluctuations.
Thickness Guidelines
- 0.5 mm – budget‑friendly, but only for low‑traffic guest baths in climate‑controlled homes.
- 1.0 mm – the sweet spot for most Buckeye remodels; balances cost and durability.
- 1.5 mm – ideal for master suites, steam showers, or any space that sees heavy use.
Material matters just as much as thickness. PVC is cheap and easy to cut, but it can become brittle under UV exposure from the sun‑baked walls. CPE (chlorinated polyethylene) holds up better in the heat and resists chemicals, while a newer polyethylene‑reinforced liner offers extra tear strength without adding weight.
Material Choices
- PVC – affordable, simple installation, but watch for cracking in extreme heat.
- CPE – tougher, more flexible, handles Buckeye’s temperature swings like a champ.
- Polyethylene‑reinforced – premium option, excellent puncture resistance, perfect for high‑traffic showers.
Pick a liner that matches both the climate and the bathroom’s usage pattern, and you’ll dodge the most common cause of costly leaks before the first tile even hits the wall.
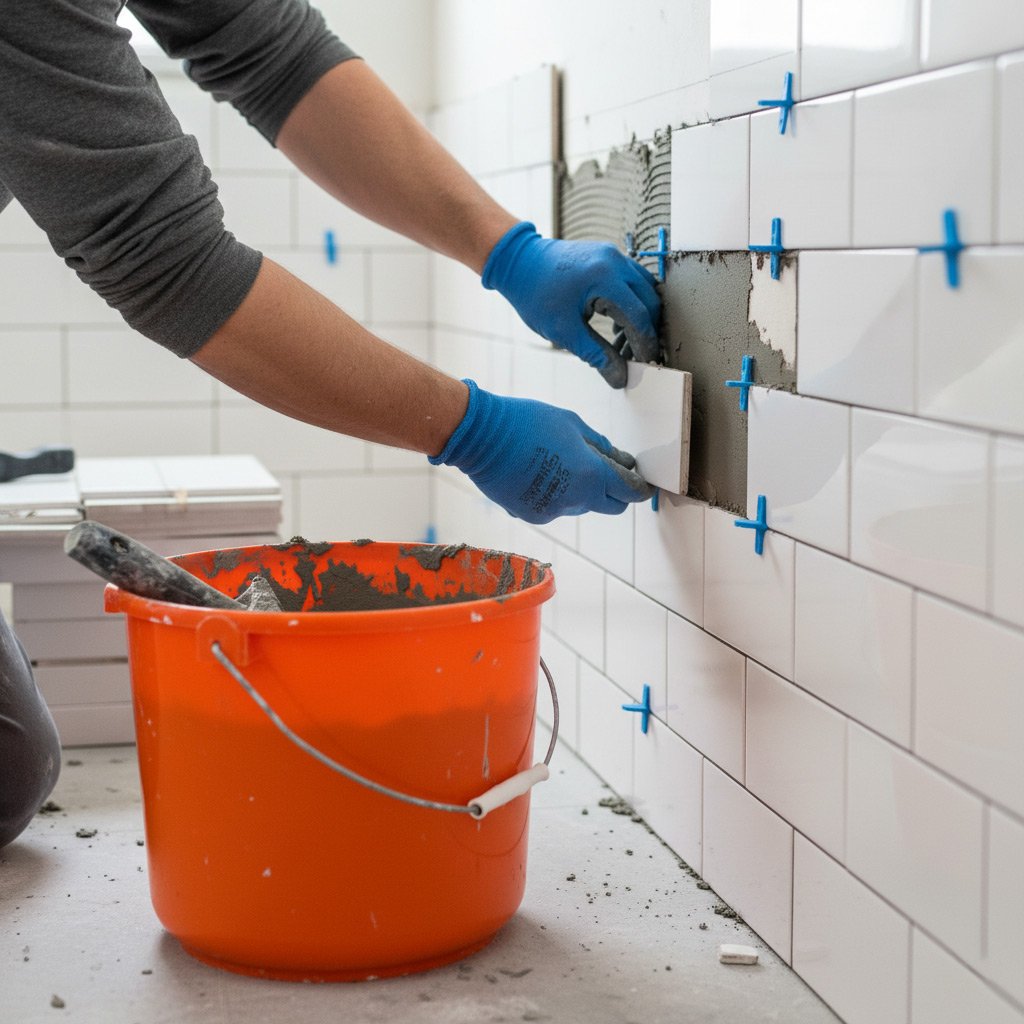
Preparing the Substrate: Proper Drywall, Cement Board, and Waterproofing Foundations
Know Your Base: Drywall vs. Cement Board
In Buckeye’s heat‑and‑dry climate, regular drywall is a no‑go for a shower enclosure. It swells, cracks, and lets moisture sneak behind the tiles. Cement board is the only material that can stand up to constant splash without warping.
When you’re tearing out the old, look for any signs of water damage—soft spots, mold, or a musty odor. Replace any compromised sections before you even think about the liner.
Setting Up the Cement Board Correctly
First, cut the board to fit the shower footprint, leaving a ¼‑inch gap at the walls for expansion. Screw it down with corrosion‑resistant deck screws, spacing them no more than 8 inches apart.
- Use a back‑biting drill to avoid cracking the board.
- Apply fiberglass mesh tape over every joint.
- Cover the tape with a thin layer of thin‑set mortar; let it cure fully.
Waterproofing the Foundation
Once the board is solid, roll out a liquid waterproofing membrane or lay a sheet‑on‑sheet product. Overlap seams by at least 2 inches and feather the edges into the walls.
Seal every corner with a high‑quality silicone caulk. Don’t skimp—any missed spot becomes a leak waiting to happen.
Accurate Measurement, Cutting, and Aligning the Liner to Prevent Gaps
Measure Twice, Cut Once
Start by laying a full‑size sheet of ¼‑inch cardboard over the shower base. Mark the exact perimeter with a pencil, then add a ¼‑inch allowance for the flange. Don’t trust eyeballing—use a steel tape and write down every length.
- Record the width of each wall, including any niche or bench.
- Note the height from the curb to the top of the curb or tile edge.
- Double‑check corners; a 1‑inch error compounds fast.
Cutting the Liner Like a Pro
Lay the liner flat on a clean workbench. Use a sharp utility knife and a straight edge; a dull blade tears the material and creates uneven edges. Score the line, then snap—the clean break prevents fraying.
When you reach a corner, cut a small “dog‑ear” notch (about ½ inch) so the liner can wrap snugly around the joint. This tiny notch is the difference between a seamless seal and a water‑sipping gap.
Aligning Without Gaps
Position the cut liner against the wall, pressing it gently into the flange. Watch the seams—they should meet square, not at an angle. If a seam sits off‑center, lift the liner, trim a hair’s breadth, and reset.
Secure the liner with a thin bead of waterproof adhesive along the top edge, then use a roller to smooth out any air pockets. A quick visual check: run a finger along the seam; you should feel a firm, even line, not a hollow dip.
Step‑by‑Step Installation: Sealing, Taping Seams, and Selecting the Correct Adhesive
Seal the Edge
Start by running a continuous bead of 100% silicone along the perimeter where the liner meets the tub or shower base. Don’t skimp—a thin line invites water to slip through. Press the liner firmly into the silicone, wipe away excess, and let it cure 24 hours before moving on.
Tape the Joints
Once the edges are set, focus on the seams. Use a butyl‑based waterproof tape that’s rated for high‑temperature environments like Buckeye’s desert heat.
- Cut the tape a few inches longer than the seam.
- Lay it flat, then press the liner over it, smoothing out bubbles.
- Seal the tape edges with a thin silicone line for extra protection.
These three moves lock the joint like a vault. If you hear a hiss, you missed a spot—go back and re‑seal.
Pick the Right Glue
The adhesive is the silent hero. For cement board, choose a polymer‑modified thin‑set that meets ASTM C920 standards. For drywall, a high‑bond construction adhesive works best.
- Mix the thin‑set to a peanut‑butter consistency.
- Apply with a notched trowel, covering no more than 12 sq ft at a time.
- Press the liner into the mortar, then tap lightly with a rubber mallet to eliminate voids.
Let the adhesive set for at least 30 minutes before you start tiling. A solid bond now saves you a costly leak later.
Leak‑Testing Techniques: Pressure Tests, Water Fill Checks, and Early Warning Signs
Pressure Test the Liner
Hook a shop‑vac or small compressor to the drain, seal every vent, and pump the pan to about 15 psi. Watch the gauge—if it drops in ten minutes, you’ve got a leak.
Water Fill Check
Fill the shower base to the intended level, mark the line, and let it sit an hour. Inspect the walls, floor, and grout for any drips or moisture.
- Use painter’s tape on all seams before filling.
- Check for puddles after the timer.
- Look for discoloration in the caulk.
Early Warning Signs
Even a perfect test can miss a slow seep. Watch for a musty odor, warm spots on drywall, or rising humidity—those are the first clues. If any appear, pause the tile work and re‑seal the seam; fix now, save thousands later.
Case Study: A Buckeye Remodel That Avoided a $7,500 Leak Repair Through Proper Liner Installation
The Project at a Glance
When the Martinez family decided to upgrade their master bath, they hired a local contractor who swore by a “no‑leak” guarantee. The house sits on a slab, the water pressure spikes in summer, and the desert heat makes any moisture problem explode fast.
Before the first tile was laid, the crew ran a quick checklist:
- Chosen liner: 5 mm PVC‑coated membrane, perfect for Buckeye’s temperature swings.
- Substrate prep: Cement board with a liquid‑applied waterproofing layer.
- Seam work: Over‑lap at least 2 in., sealed with a polymer‑based tape.
How the Mistake Was Averted
During the dry‑fit, the installer measured twice, cut once, and used a pressure‑sensitive adhesive that stays flexible when the bathroom heats up. He then performed a 30‑minute water‑fill test before any grout touched the walls.
The test revealed a tiny pinhole at a corner joint. Instead of ignoring it, the crew sanded the spot, applied a fresh bead of sealant, and retested. The water held steady—no drips, no seepage.
Bottom‑Line Savings
Two weeks later the shower was finished, and the Martinez family turned on the water with confidence. A month after moving in, a neighbor’s home suffered a $7,500 leak repair because the liner was installed too thin and the seams weren’t taped.
Because the Martinez crew followed the checklist, they avoided that disaster entirely. The family saved thousands, and the contractor earned a glowing review that brought in three more projects in the same month.
Final Words
Before you swing that hammer, double‑check the manufacturer’s warranty on your liner. A lot of cheap options void the guarantee the moment you use the wrong adhesive or skip a seam seal.
Quick sanity check
- Is the liner at least 5 mm thick for Buckeye’s temperature swings?
- Did you tape every seam with a waterproof, mold‑resistant tape?
- Have you run a water‑fill test for at least 30 minutes?
If you answered “yes” to all three, you’ve built a barrier that will outlast the next heat wave. Need a professional eye? Our team specializes in Shower Liners that pass every local code and keep your bathroom dry.
People Also Ask
What thickness of shower liner is best for Buckeye’s hot desert climate?
A 5 mm (¼‑inch) PVC or CPE liner is ideal because it resists expansion and contraction caused by temperature swings while providing strong waterproof protection.Do I need cement board under a shower liner, or is drywall sufficient?
Cement board is recommended as the substrate because it offers superior moisture resistance and bonding compared to standard drywall, which can deteriorate over time in a wet environment.How can I ensure my shower liner seams are completely sealed?
Use a high‑quality, waterproof seam tape followed by a compatible liquid sealant; press the tape firmly and smooth the sealant to eliminate any air pockets that could lead to leaks.What is the most reliable method to test a newly installed shower liner for leaks?
Perform a pressure test by filling the shower base with water and covering the drain for at least 30 minutes; watch for any moisture or drips on the surrounding walls as an early warning sign.Can I install a shower liner myself, or should I hire a professional?
DIY installation is possible if you follow precise measurement, cutting, and sealing steps, but hiring a licensed remodeler ensures proper waterproofing and can prevent costly repairs like the $7,500 leak case in Buckeye.Buckeye Bathroom Remodel brings over a decade of specialized bathroom renovation experience to homeowners throughout Buckeye, Arizona. Their team combines skilled craftsmanship with a deep understanding of local design trends and building codes, ensuring each project meets the community’s standards for quality and functionality.
Need Bathroom Remodel?
We revitalize bathrooms in Buckeye, AZ and nearby ZIPs (85326, 85396, 85355, 85374, 85381), delivering modern, functional spaces on a fast timeline. Our streamlined process gets you enjoying your new bathroom in weeks, not months.
Get Bathroom Quote