Picture this: you flip the faucet, steam curls up, and the water hits you like a perfect, steady rhythm that makes the desert heat melt away. That’s the kind of shower experience Buckeye homeowners crave, and it’s closer than you think.
Most folks dive into a remodel thinking they need a Ph.D. in plumbing or a fortune in cash. The truth? A solid plan, a few smart choices, and a little know‑how can turn a cramped tub space into a sleek, spa‑like retreat without breaking the bank.
In this roadmap we’ll break down every step—from sizing the space and picking the right shower head, to wiring the lights and sealing the grout so it lasts. You’ll get the exact questions to ask contractors, the hidden costs to watch for, and the shortcuts that actually save time.
Ready to see how a few strategic moves can give you the shower you’ve been dreaming about? Keep reading and we’ll walk you through the process, one clear step at a time.
Start Your Shower Upgrade: The Buckeye Homeowner’s Blueprint
Living in the desert means you know the value of a good rinse. A fresh, well‑designed shower can turn a sweltering day into a quick escape, and you don’t need a plumbing Ph.D. to make it happen. All it takes is a clear plan and a few smart choices.
Most Buckeye families assume a remodel will drain their savings or take months to finish. The truth is, with the right roadmap, you can keep costs in check and stay on schedule. Think of it as a DIY‑friendly project that still feels like a spa.
What You’ll Master
- How to measure your space without guessing.
- Choosing a shower head that balances water pressure and water‑wise use.
- Wiring lights safely and stylishly.
- Sealing grout so it survives Buckeye’s heat.
- Key questions to fire at contractors.
Measure the Space and Choose the Right Shower Footprint
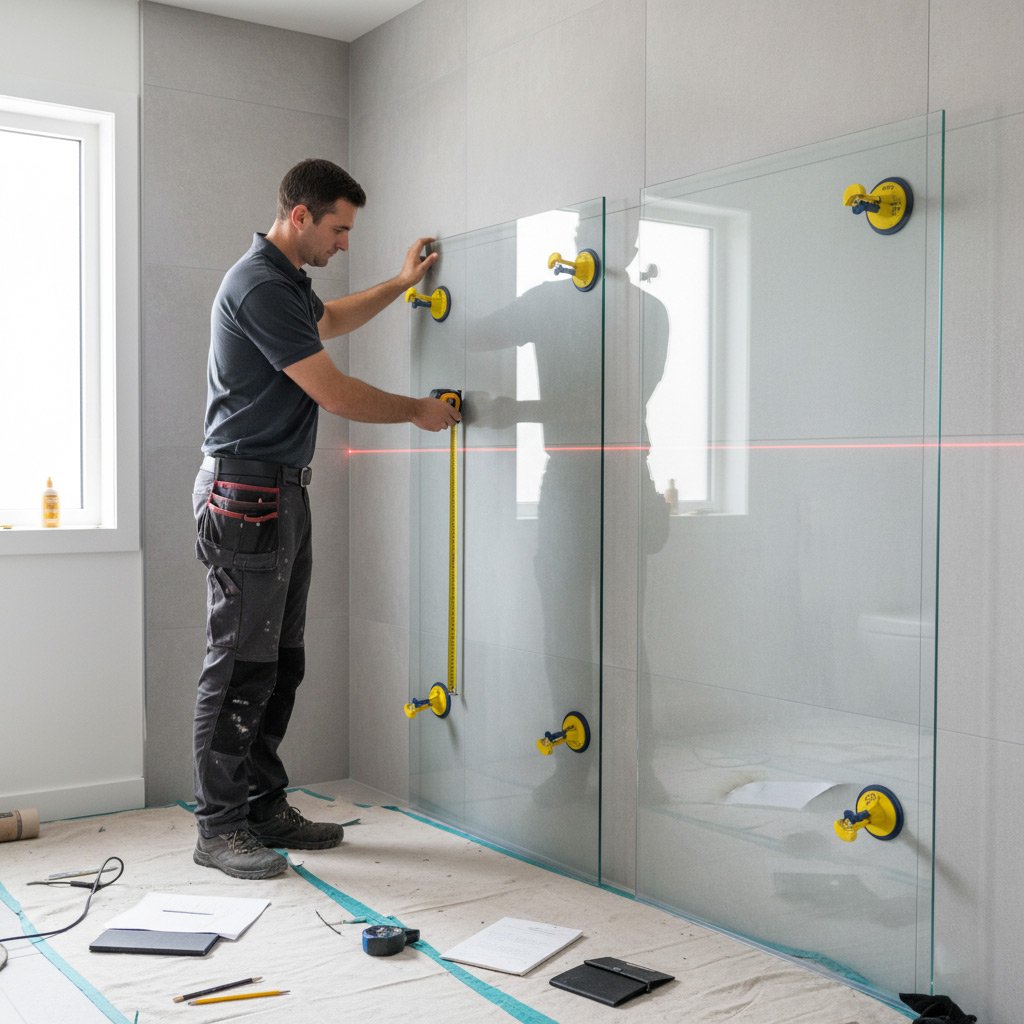
Before you start dreaming about rain‑shower heads, grab a tape measure and walk the perimeter of the area you plan to convert. Accurate dimensions prevent costly re‑cuts later, and they give you a realistic canvas for layout options.
Key measurement checkpoints
- Width: Measure wall‑to‑wall at floor level and again at the ceiling to spot any taper.
- Depth: Include any built‑in niches or benches that will stay in place.
- Clearance: Ensure at least 30‑inches of headroom and 24‑inches of side clearance for comfortable movement.
Once you have the numbers, match them to a shower style that fits the footprint. A corner alcove saves space, while a linear “walk‑in” design offers a spa‑like feel if you have room to spare. Remember, the goal is a layout that feels natural, not forced.
Choosing the right footprint
Think about how you’ll use the shower daily. If you love a quick rinse, a compact shower stall works. If you’re after a relaxing soak, go for a larger enclosure with a built‑in bench. Align the footprint with your bathroom’s traffic flow to avoid bumping into doors or cabinets.
Step 3: Nail Down the Plumbing & Drainage Basics
Before you pick a fancy rain‑shower head, you need to know where the water’s coming from and where it’s going. In Buckeye, the water pressure can swing with the desert heat, so a pressure‑balancing valve is a smart first move. It keeps the flow steady whether the neighbor’s hose is blasting or the city’s main is low.
Map Your Existing Pipe Layout
Grab a flashlight and trace the copper or PEX lines behind the wall. Sketch a quick diagram – don’t worry about being an engineer. Mark the hot and cold supply, the main drain, and any vent pipes. This visual will save you from costly surprises when the contractor starts cutting.
- Locate the shut‑off valves. Turn them off and test each line.
- Measure the distance from the existing drain to the new shower base.
- Check the slope: a ¼‑inch per foot drop is the rule of thumb.
Choose the Right Drain Assembly
The drain is the unsung hero of a shower. A linear drain looks sleek and can double as a bench, but it demands precise framing. A traditional round drain is easier to install and cheaper. Decide based on your budget and design vibe.
Don’t forget the trap seal. It prevents sewer gases from sneaking into your bathroom. A well‑installed trap also protects the grout from moisture damage. Ask your plumber to show you the trap’s “water seal” before they close the wall.
4. Hook Up the Plumbing: Drain, Supply, and Vent
Before you start dreaming about rain‑like streams, you need a solid plumbing backbone. A mis‑aligned drain or undersized supply line can turn a spa‑like vision into a leaky nightmare faster than you can say “water‑damage”.
Get the drain slope right
The drain must slope at least 1/4 inch per foot toward the main stack. Too flat and water pools; too steep and you waste water pressure. Grab a level, mark the slope, and double‑check before you cement anything.
- Measure from the shower pan to the trap.
- Use a 2‑by‑4 as a guide for the slope.
- Secure the pipe with pipe‑hangers every 4 feet.
Supply line sizing matters
Most residential showers run on a ½‑inch copper or PEX line. If you’re adding a high‑flow rainhead, bump up to ¾‑inch to keep pressure steady. Remember: a bigger pipe means less friction, which equals a stronger spray.
- Check local code for minimum pipe size.
- Install a shut‑off valve right before the shower valve.
- Use T‑fittings for future upgrades.
Ventilation prevents odor and gurgle
A vent pipe lets air in, keeping the drain from sucking water out of the trap. Without it, you’ll hear that dreaded gurgle and risk sewer gases sneaking into your bathroom.
- Connect the vent within 6 inches of the trap.
- Run it up through the roof or tie into an existing vent stack.
- Seal all joints with plumber’s tape.
5. Hook Up the Plumbing and Drain
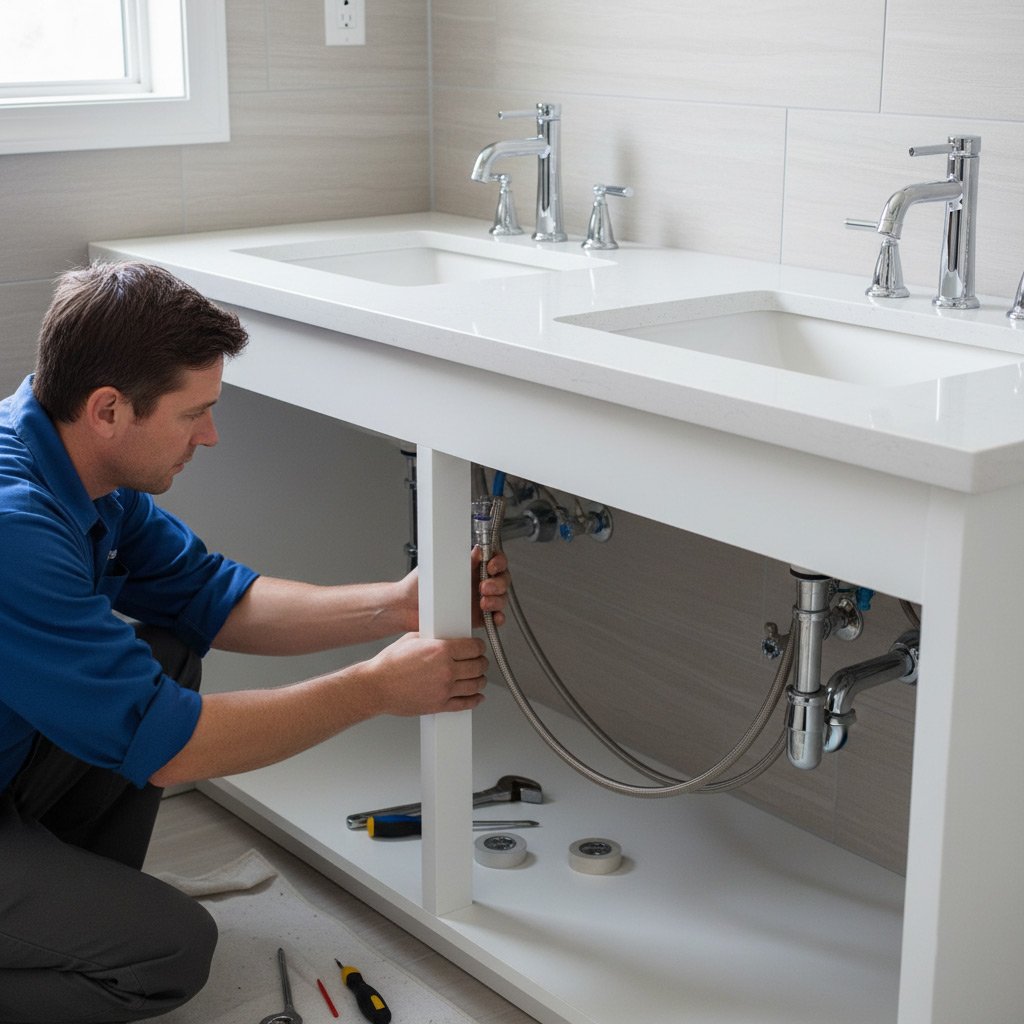
Map the water lines before you cut
Grab a tape measure, a marker, and trace the existing hot‑and‑cold lines on the floor. Know exactly where each pipe will run before you break anything. This saves you from costly re‑work and keeps the crew on schedule.
Connect the shower valve
Install the valve on a sturdy backer board, making sure it’s level. Tighten the fittings with a pipe wrench, but don’t over‑torque – you’ll strip the threads.
- Use Teflon tape on all threads for a leak‑free seal.
- Check the manufacturer’s torque specs; most valves need 15‑20 lb‑ft.
- Run a quick water test before you close the walls.
Set the drain and trap
The drain assembly must sit flush with the shower base. Slip the PVC trap into place, then glue the joints with a solvent cement that’s rated for hot water.
Once the cement cures, pour a bucket of water through the drain. Look for any drips at the connections – a single drop means you’ve missed a seal.
Step 6: Seal, Test, and Celebrate
Now that the walls, fixtures, and plumbing are in place, the real work begins: making sure nothing leaks and everything works like a charm. Grab a bucket, run the water, and watch for drips. If you see any, seal them immediately before the grout sets.
Quick leak‑check checklist
- Turn on hot and cold taps; watch for steady flow.
- Inspect the shower pan and corners for moisture.
- Check all pipe connections for a steady stream, not a trickle.
- Run the shower for at least five minutes; look for hidden seepage.
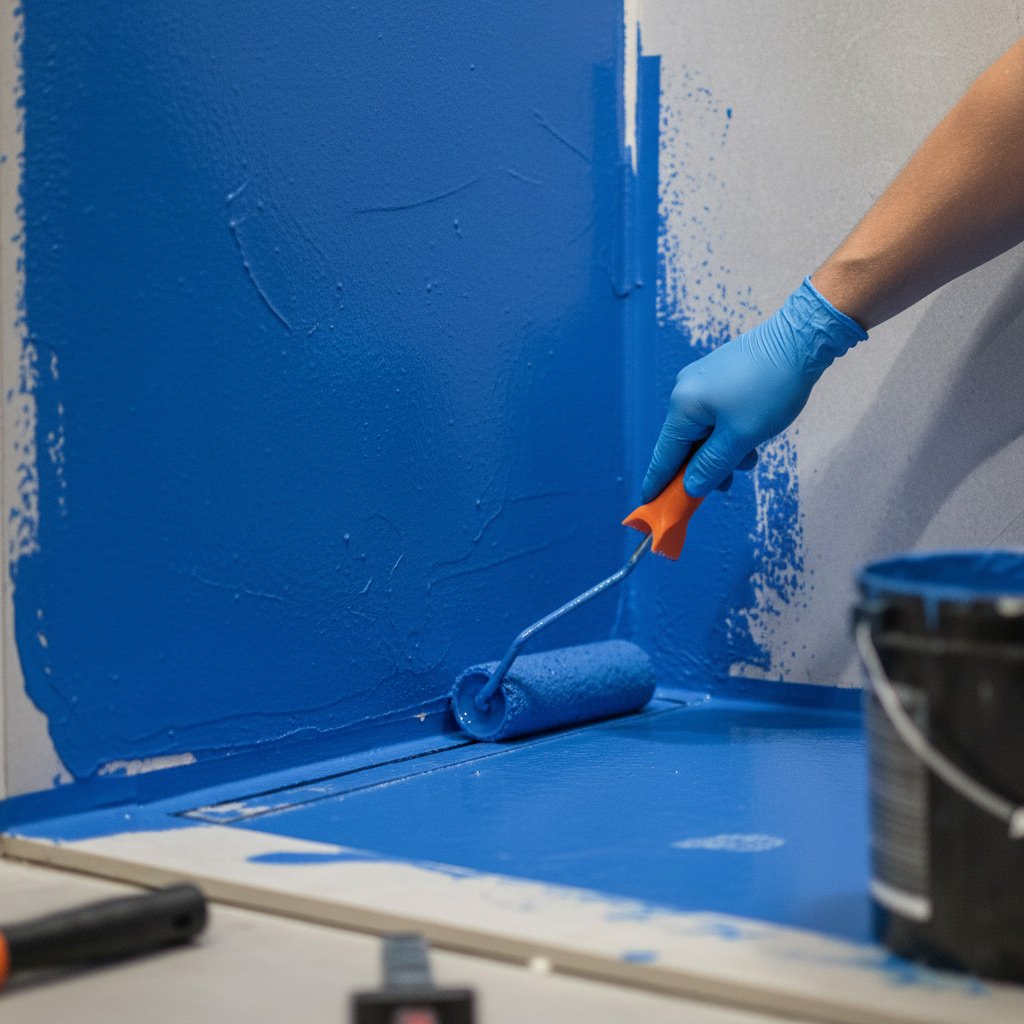
Once the water test passes, it’s time to protect your investment. Apply a high‑quality silicone caulk around the edges of the shower base, the niche, and any glass panels. Don’t skimp on the caulk—it’s the barrier that keeps desert humidity from sneaking into the walls.
Final polish and the “wow” factor
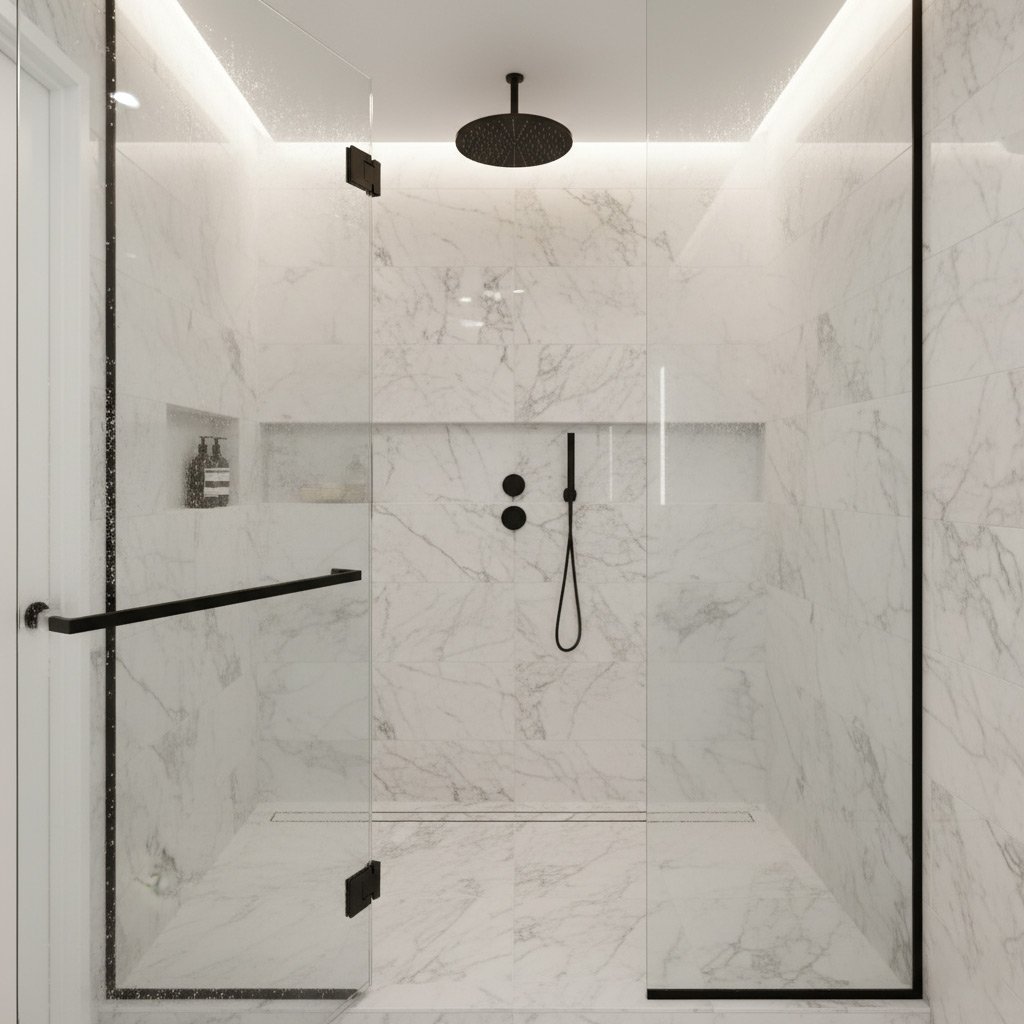
Give the glass a streak‑free shine with a vinegar‑water solution, and wipe down all fixtures with a microfiber cloth. Add a few luxe touches: a rain‑shower head, a built‑in bench, or a heated towel rack. These small upgrades turn a functional shower into a daily retreat.
Step back, take a deep breath, and enjoy the result. You’ve just turned a plain bathroom corner into a spa‑like oasis—without a Ph.D. in plumbing and without blowing the budget.
Step 7: Seal, Test, and Celebrate
Now that the walls, fixtures, and plumbing are in place, the final act is all about making sure nothing leaks and everything looks sharp. A good seal is the difference between a spa‑like retreat and a soggy nightmare.
Seal the joints
Grab a high‑quality silicone that’s mold‑resistant and UV‑stable. Apply a thin, even bead along every edge—where the tile meets the tub, the glass door, and the corners. Smooth it with a wet finger or a caulk‑smoothing tool. Let it cure for at least 24 hours before you turn the water on.
- Use 100% silicone, not acrylic caulk.
- Check the manufacturer’s cure time.
- Keep the area dust‑free while it sets.
Run a water test
Turn on the shower and watch for drips. Inspect the grout lines, the base, and the connections behind the wall. If you see any moisture, shut it off and re‑apply sealant or tighten the fitting.
- Run hot water for at least five minutes.
- Look for water pooling on the floor.
- Check the shower door for proper alignment.
When everything stays dry, you’ve earned a moment of pride. Step back, admire the work, and enjoy that desert‑heat‑melting cascade. Need more ideas? Browse our New Showers page for inspiration and next‑level upgrades.
People Also Ask
What are the first steps a Buckeye homeowner should take before installing a new shower?
Begin by assessing the existing plumbing layout and measuring the space to ensure the new shower will fit. Obtain any necessary permits from Maricopa County and consult a licensed contractor to verify code compliance.How much does it typically cost to install a new shower in Buckeye, Arizona?
The average cost ranges from $3,000 to $7,500, depending on the shower type, materials, and labor rates. High-end fixtures or custom tile work can increase the price, while prefabricated units may lower it.What shower styles are most popular among Buckeye homeowners?
Walk‑in tile showers and sleek glass‑enclosed designs are favored for their modern look and easy maintenance. Many also choose curbless “wet room” showers to enhance accessibility and visual space.Do I need a professional plumber for a shower remodel in Buckeye?
Yes, a licensed plumber is required to handle pipe modifications, ensure proper drainage, and meet local building codes. Hiring a professional also protects you from costly mistakes and warranty issues.How long does a typical shower installation take?
A standard shower remodel usually takes 3 to 5 days, including demolition, plumbing adjustments, and finishing work. Complex projects with custom tile or extensive plumbing rerouting may extend the timeline.Buckeye Bathroom Remodel specializes in comprehensive bathroom renovations, delivering quality craftsmanship and thoughtful design. With over a decade of experience serving homeowners throughout Buckeye, Arizona, the team combines local knowledge with industry expertise. Their commitment to personalized service ensures each project reflects the unique style and functional needs of the community.
Need Bathroom Remodel?
We revitalize bathrooms in Buckeye, AZ and nearby ZIPs (85326, 85396, 85355, 85374, 85381), delivering modern, functional spaces on a fast timeline. Our streamlined process gets you enjoying your new bathroom in weeks, not months.
Get Bathroom Quote