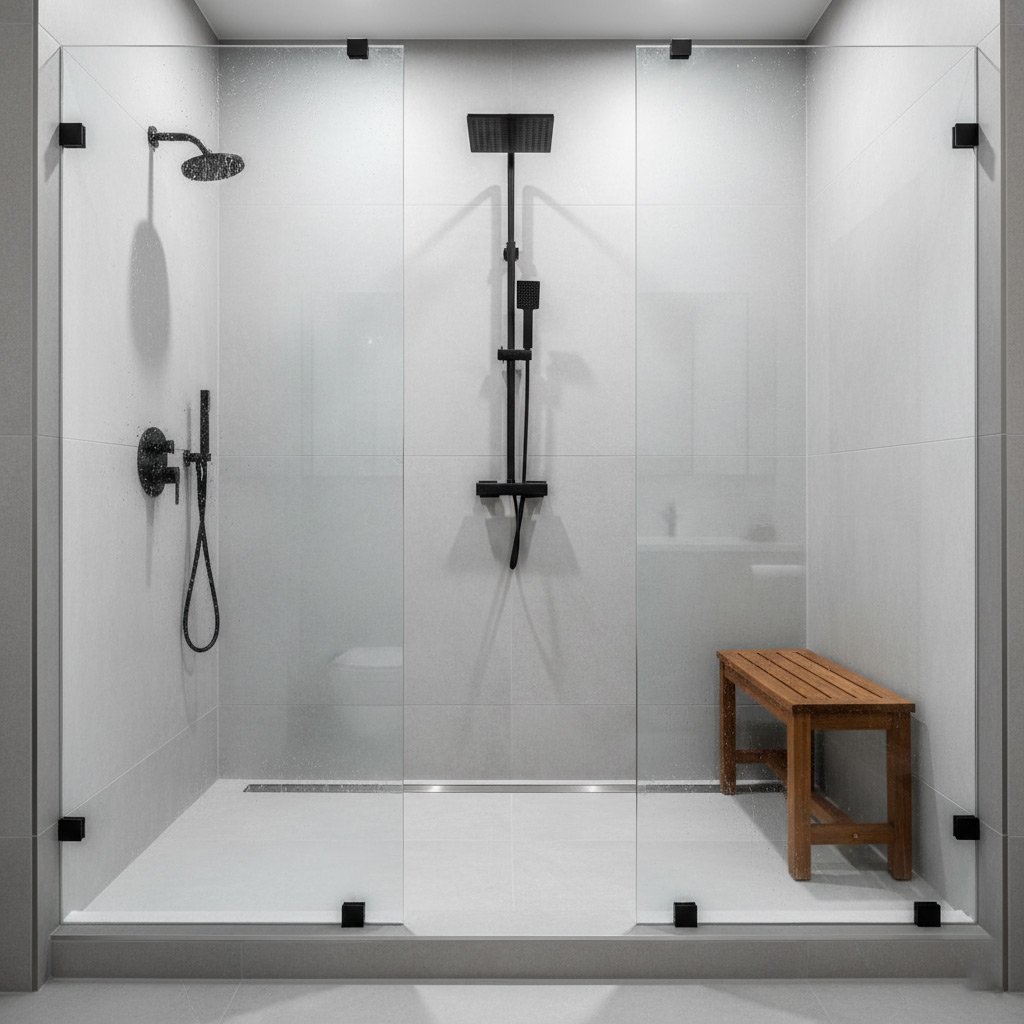
Picture this: you open the bathroom door and the space feels like a high‑end resort, yet the price tag is something you could've paid for a new set of tires. That’s the promise of acrylic bath walls—slick, waterproof, and surprisingly easy on the wallet.
In Buckeye’s scorching summer and chilly winter nights, acrylic doesn’t crack, warp, or fade the way tile can. It’s lightweight, low‑maintenance, and gives you that glossy, spa‑like finish without the grout‑filled headaches.
Most homeowners jump straight into cheap tile or outdated fiberglass, only to discover costly repairs later. This guide cuts through the noise, showing you the exact panels, installation tricks, and design tips that survive our desert climate.
Ready to see which acrylic solutions will keep your bathroom looking fresh year after year and how to install them without a nightmare? Let’s dive in.
Understanding Acrylic Bath Wall Materials and Their Benefits for Buckeye’s Climate
At its core, acrylic is a blend of high‑density polymer resin and a fine‑tuned mix of additives that give the panels their glossy sheen. The material is poured into a mold, cured, then trimmed to exact dimensions. The result is a sheet that’s both lightweight and incredibly strong—perfect for a desert town where every pound counts.
Why Acrylic Beats Tile in Buckeye
- Resists extreme heat swings without cracking.
- UV‑stable pigments keep color true under the sun.
- Non‑porous surface blocks moisture, eliminating mold.
- Easy to clean; no grout lines to scrub.
Those benefits translate into real savings. A tile wall can shift, chip, or need re‑grouting after a few seasons. Acrylic stays flat, bright, and ready for a quick wipe‑down. That’s the kind of low‑maintenance solution homeowners in Buckeye crave.
Durability Meets Design Flexibility
Because acrylic panels are manufactured in a controlled environment, you get consistent thickness and color batch after batch. That uniformity means you can mix and match finishes without worrying about mismatched seams. Plus, the material tolerates impact better than ceramic—dropping a bottle won’t leave a permanent scar.
Selecting the Ideal Acrylic Panels: Thickness, Finish, Color, and Warranty Considerations
Thickness
In Buckeye, a 6 mm panel is the sweet spot—sturdy enough to resist denting, yet light enough for a single installer. Go 8 mm if you plan heavy accessories or a high‑traffic family bathroom. Thinner than 4 mm? Expect flex and possible cracks under desert heat.
Finish
Gloss gives that resort‑like shine, but a matte surface hides water spots and fingerprints. Textured finishes add grip for kids and seniors, while still looking sleek. Choose a finish that matches your cleaning routine; a high‑gloss panel needs a quick wipe‑down daily.
Color & Warranty
Neutral tones—soft whites, light greys—reflect heat, keeping the room cooler in summer. If you crave a pop, consider a deep navy or desert‑sand accent; it won’t fade because acrylic resists UV.
- Warranty length: Look for at least 10 years on material and 5 years on installation.
- Transferability: A warranty that follows the home adds resale value.
- Read the fine print—some warranties exclude damage from improper prep.
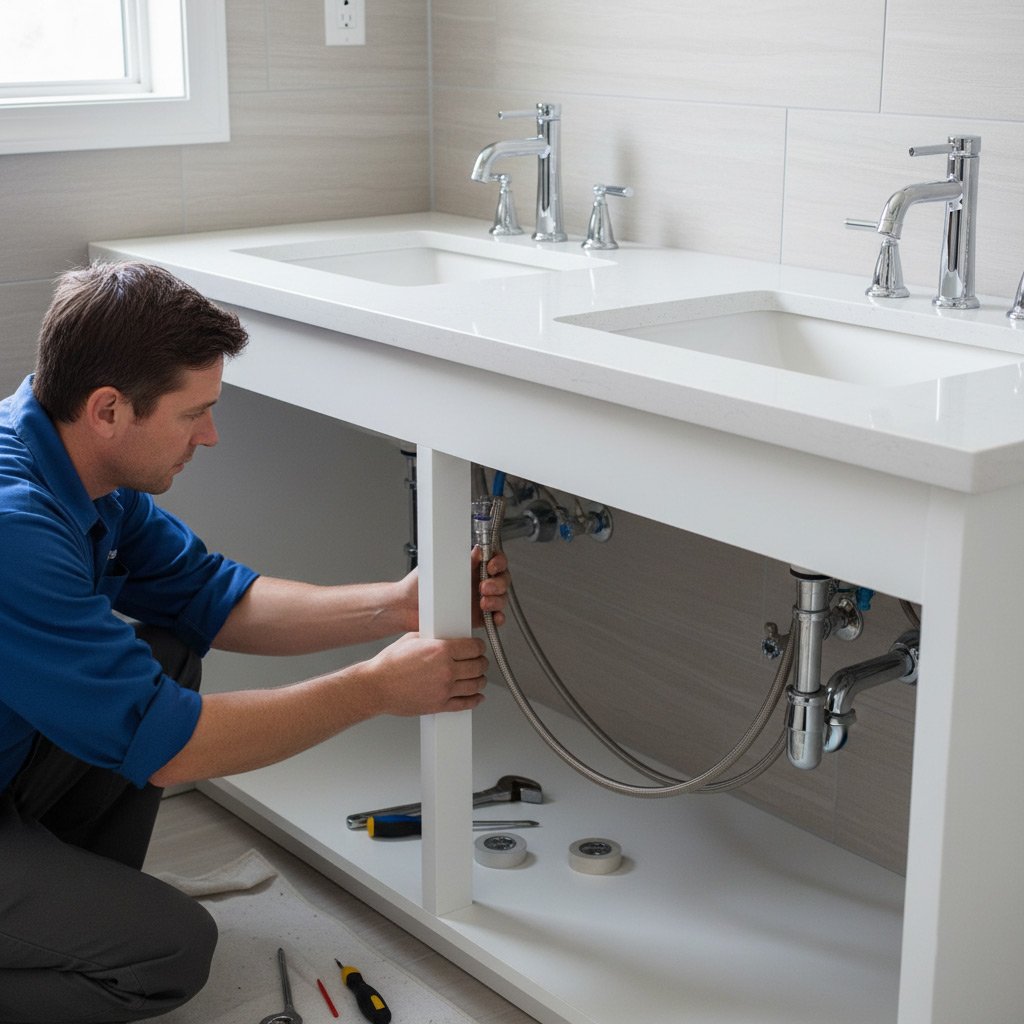
Preparing the Bathroom: Accurate Measurements, Substrate Preparation, and Essential Tools
Measure Twice, Cut Once
Start by pulling out a steel tape and jotting down every wall length, ceiling height, and any niche or alcove. Double‑check each figure before you write it on the panel layout sheet – a half‑inch error shows up as a gap you’ll hate later. Mark the floor line with a chalk line so the panels sit perfectly flat.
Get the Substrate Ready
The wall behind the acrylic must be solid, dry, and free of dust. If you’re working over drywall, skim coat it with a moisture‑resistant mud and sand smooth; for concrete, a quick power‑wash followed by a primer does the trick. Let everything cure at least 24 hours – rushing this step invites bubbling later.
Tools You Can’t Skip
Having the right gear saves you from a day of frustration. Grab these essentials before you start:
- Utility knife with fresh blades – clean cuts, no ragged edges.
- Silicone caulk gun and 100% silicone sealant – the only adhesive that won’t crack under desert heat.
- Level and straight edge – keep panels perfectly vertical.
- Drill with a ½‑inch spade bit for mounting brackets.
- Rubber mallet – gentle taps, no dents.
Keep a shop‑vac nearby to suck up dust, and wear safety glasses. With measurements locked, substrate prepped, and tools in hand, you’re set to roll out those acrylic panels like a pro.
Step‑by‑Step Installation Process for Acrylic Bath Walls
Gather Your Tools
Before you even touch a panel, line up a rubber mallet, a fine‑tooth screwdriver, a utility knife, and a high‑quality acrylic adhesive. Add a level, a measuring tape, and a clean cloth for wiping away excess glue. Having everything at hand keeps you from scrambling mid‑job.
Prep the Substrate
Start with a dry, flat surface—whether it’s cement board or a pre‑existing wall. Remove any old caulk, sand down rough spots, and vacuum the dust. Apply a thin coat of primer designed for acrylic; it creates a bond that won’t quit when the desert heat hits.
Mount the Panels
Measure twice, cut once. Use the utility knife to score the panel, then snap it cleanly to fit around fixtures. Apply adhesive in a zig‑zag pattern, press the panel firmly, and tap with the rubber mallet to eliminate air pockets.
- Work from the bottom up; gravity helps seal the seams.
- Leave a 1/8‑inch gap at the floor for expansion.
- Seal every joint with a clear acrylic caulk for a watertight finish.

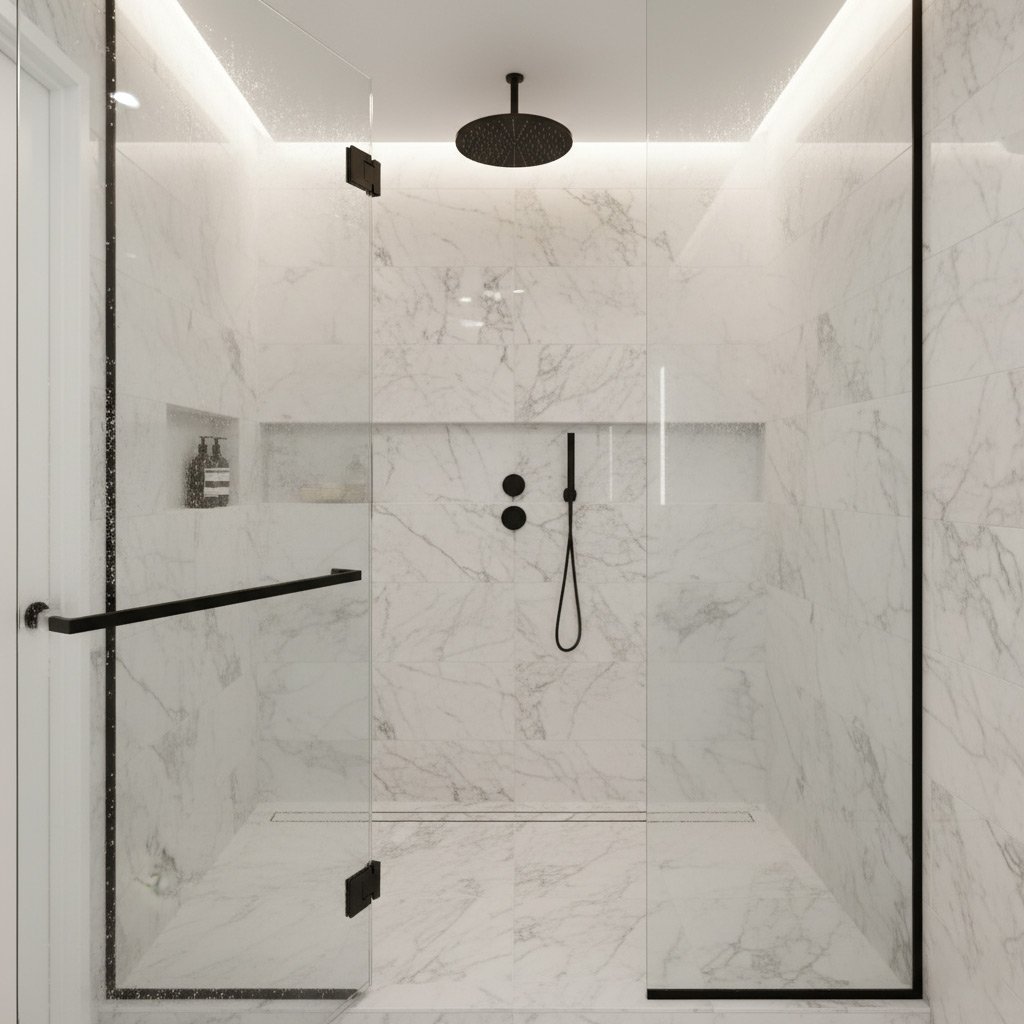
Design Strategies: Seamless Aesthetics, Accent Options, and Coordinating Fixtures
Seamless Aesthetics
When the panels line up like a single sheet of glass, the bathroom feels larger and cleaner. Skip the grout lines and you skip the visual clutter.
- Choose a matte finish for a subtle, spa‑like vibe.
- Match the panel color to your vanity to create a continuous flow.
- Use a single‑piece back wall to eliminate distracting seams.
Accent Options
Accent panels let you inject personality without breaking the budget. A splash of color or a textured strip can become the room’s focal point.
- Insert a glass‑fiber reinforced strip behind the shower niche for a hidden pop.
- Consider a brushed‑metal accent rail for a modern industrial edge.
- Use a contrasting hue on the upper half of the wall to break up height.
Coordinating Fixtures
Fixtures should complement, not compete, with the acrylic surface. Keep the hardware sleek and water‑resistant.
- Choose brushed nickel or matte black faucets for a timeless look.
- Install recessed lighting that highlights the glossy surface without glare.
- Pair a frameless glass shower door with the acrylic to maintain that seamless feel.
Case Study: A Buckeye Home Renovation that Showcased Durable, Spa‑Like Acrylic Walls
Project Overview
When the Martinez family decided to upgrade their 1998 ranch‑style home, they wanted a bathroom that felt like a resort without the endless maintenance of tile. We installed 6 mm high‑gloss acrylic panels on all four walls, paired with a seamless acrylic bathtub that wrapped around the vanity.
The house sits on a slab that expands and contracts with the desert heat. To combat that, we pre‑treated the substrate with a moisture‑blocking primer and used a flexible silicone sealant that moves with the house.
Results & ROI
Six months after the remodel, the Martinezes reported zero cracks, no water stains, and a 30 % drop in cleaning time. That’s the kind of payoff homeowners love.
- Water‑resistant surface eliminated grout‑line repairs.
- Glossy finish stayed bright despite 115 °F summer days.
- Installation cost was 40 % less than a comparable tile job.
Because the acrylic panels are UV‑stable, the color hasn’t faded a single shade. The family now enjoys a spa‑like retreat that adds resale value and peace of mind.
Final Words
Take the Next Step
Now that you’ve got the know‑how, the real power move is to line up a reputable installer who knows Buckeye’s heat and dust. Ask for a written warranty and verify that the acrylic panels meet the thickness specs you chose. A quick call to a local bathroom remodeler can lock in pricing before material costs climb.
Keep It Pristine
Maintenance is a breeze when you stick to the basics:
- Wipe down walls with a mild, non‑abrasive cleaner after each shower.
- Inspect seams quarterly; a tiny crack can be sealed with the manufacturer’s caulk.
- Avoid harsh chemicals—bleach and ammonia will dull the gloss.
Need More Guidance?
If you’re still on the fence, explore our full Acrylic Bath Walls service page for case studies, financing options, and a list of certified installers in the Buckeye area. One call can turn a DIY curiosity into a showroom‑ready bathroom without the guesswork.
People Also Ask
What are the main benefits of acrylic bath walls in Buckeye’s hot desert climate?
Acrylic resists heat expansion and UV damage, keeping walls stable under intense sun. It also repels moisture, preventing mold and reducing maintenance in the arid environment.How thick should acrylic panels be for a long‑lasting bathroom remodel?
For residential installations, 6 mm to 8 mm thickness offers a good balance of durability and ease of handling. Thicker panels (10 mm) are recommended for high‑traffic homes or commercial settings.Can I install acrylic bath walls myself, or do I need a professional?
DIY installation is possible with proper tools and careful substrate preparation, but a professional ensures seamless seams and proper sealing, which is crucial for a watertight finish.What color and finish options work best with Buckeye’s desert‑style homes?
Neutral tones like sand, stone, or soft gray complement the desert palette, while matte or satin finishes reduce glare from bright sunlight. Accent panels in muted blues or greens can add a spa‑like feel without clashing.How long does a typical acrylic bath wall installation take?
A standard bathroom remodel with acrylic walls usually takes 1–2 days for panel installation, plus additional time for waterproofing and finishing touches. Proper planning can keep the project within a weekend timeframe.Buckeye Bathroom Remodel specializes in high-quality bathroom renovations, bringing over a decade of craftsmanship to homes throughout Buckeye, Arizona. Their team combines local knowledge with meticulous attention to detail to transform spaces into functional, stylish retreats.
Need Bathroom Remodel?
We revitalize bathrooms in Buckeye, AZ and nearby ZIPs (85326, 85396, 85355, 85374, 85381), delivering modern, functional spaces on a fast timeline. Our streamlined process gets you enjoying your new bathroom in weeks, not months.
Get Bathroom Quote